I have just recently improved my terminal setup after learning how to use Tmux. It gave me a way to move faster between projects and even kept my session saved after machine shutdowns. My goal here is to help you configure a environment that will be both beautiful and functional. Let’s get to it.
What we will set up
Guake: top-down terminal that can be instantaneously opened with a keystroke.
Zsh: an extended Bourne Shell (sh) with many improvements, powerful command line editing options, and support for plugins and themes.
Oh-My-Zsh: an open source, community-driven framework for managing your Zsh configuration.
Powerlevel10k: a theme for Zsh with interface helpers, such as git current branch and execution time.
Tmux: an open-source terminal multiplexer for Unix-like operating systems. It allows multiple terminal sessions to be accessed simultaneously in a single window.
Dracula Theme: a famous dark theme created by Zeno Rocha , a Brazilian developer.
Note: the following steps are done in Ubuntu. The same result can be achieved in MacOS with iTerm2 as the terminal.
Install Guake
When I worked with MacOS, I used iTerm2
, but now on Linux I am using Guake
as my default terminal. What I look for is to be able to open the command line in any monitor with a simple CTRL + SPACE shortcut.
So if you’re on Ubuntu, just install it with apt.
| |
Choose your shortcut
Go to Preferences → Keyboard Shortcuts and choose your key to Toggle Guake Visibility.
Change your theme to Dracula
Dracula is one of the most famous themes out there. I use it both my terminal and VSCode. Guake already comes with it pre-installed, so go to Preferences → Appearance and choose Dracula as a Built-in scheme.
Other configs
You might also want to change the transparency and height of the window. Check out their documentation for more .
Zsh & Oh My Zsh
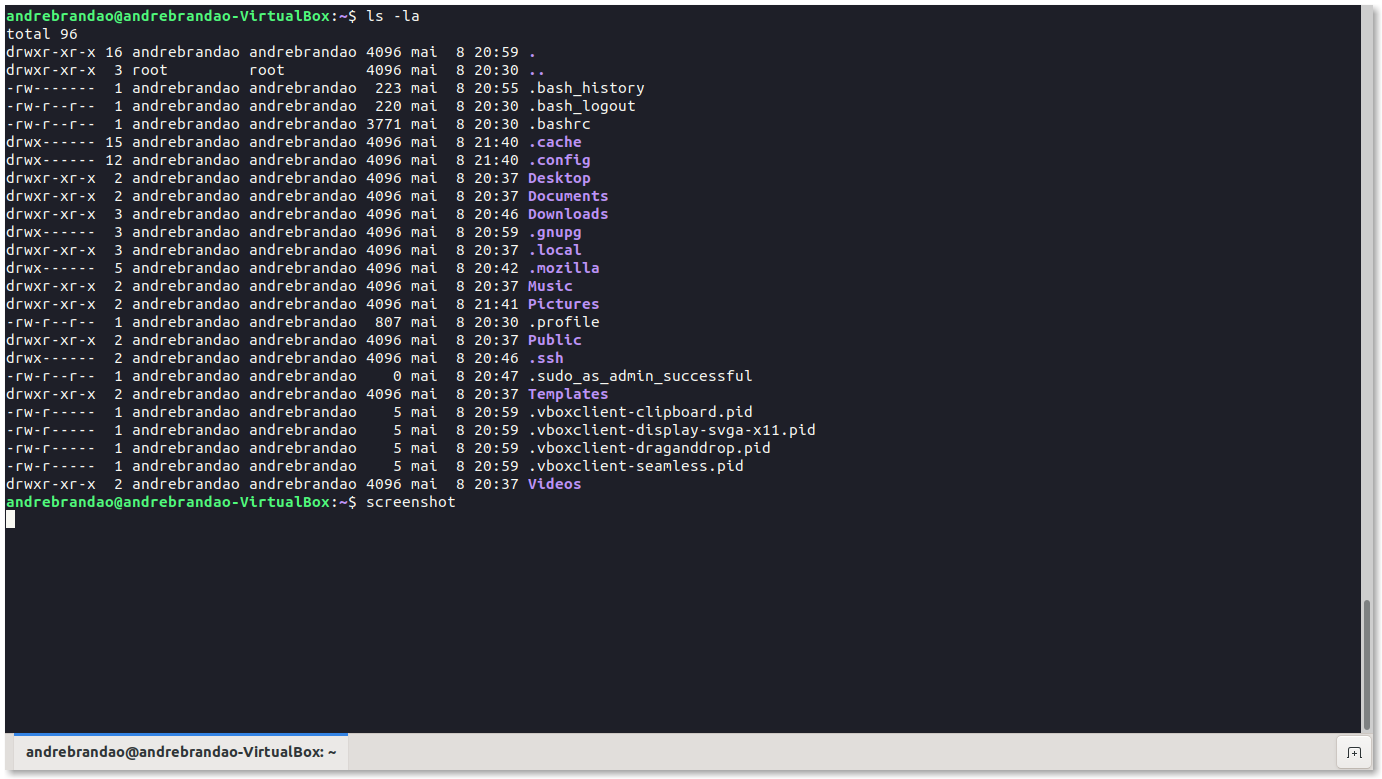
Now, let’s install Z shell in Ubuntu.
| |
For other platforms, please check this guide .
Set it as your default shell.
| |
You will have to logout for the changes to take effect.
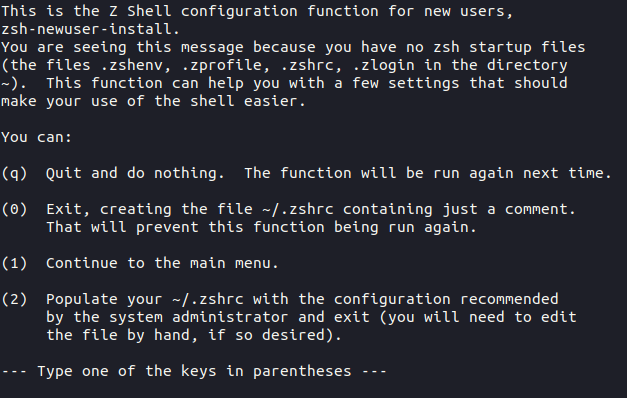
Again, in Guake go to Preferences → Shell and set your default interpreter to /usr/bin/zsh. Restart it and you should see the message below.
Choose option 0. We will be setting this up with Oh My Zsh.
Installing Oh My Zsh
Oh My Zsh is a framework to manage your Zsh configuration, themes, plugins and much more.
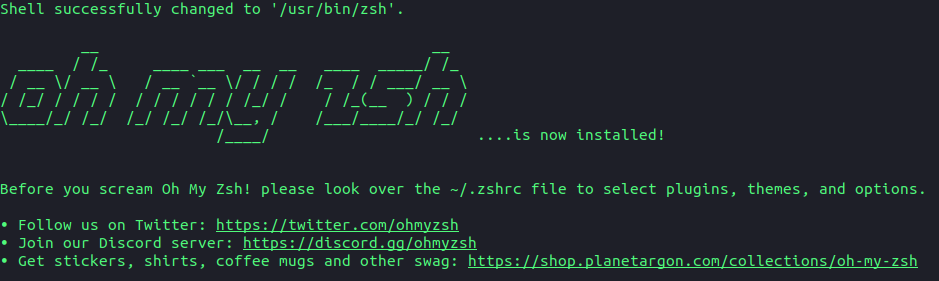
| |
After the successful installation you should see the screen below.
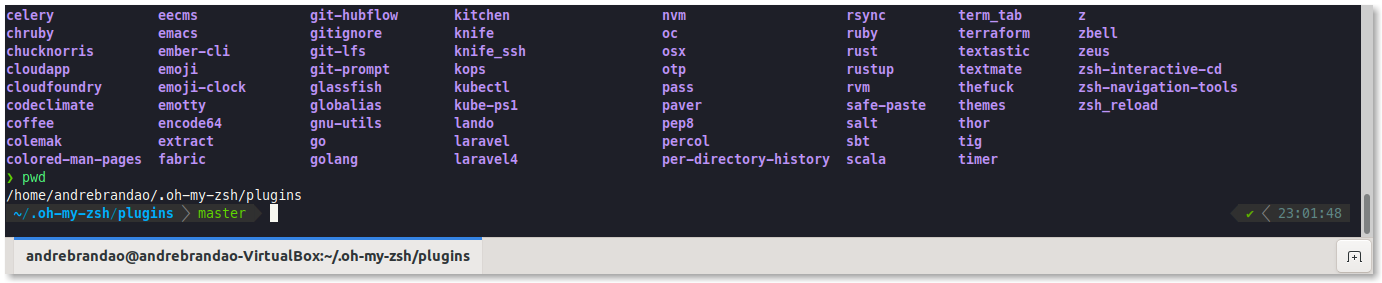
You are now ready to install autocomplete and multiple plugins that will make your life easier. Check out the available plugins at the documentation .
I suggest you start with the following:
zsh-autosuggestions: makes suggestions based on commands you have already made.
zsh-syntax-highlighting: enables highlighting of commands while they are typed.
Clone both plugins to your OhMyZsh custom folder.
| |
Now, edit your ~/.zshrc file to include them.
| |
Restart your Zsh with source ~/.zshrc.

Now, if you start typing, you will see the suggestions and can press the right arrow key to quickly autocomplete.
Powerlevel10k
Powerlevel10k is a theme for Zsh. It emphasizes speed, flexibility and out-of-the-box experience.
Install the required fonts
Configure Guake by opening Preferences → Apperance. Then, uncheck “Use the system fixed width font” and select MesloLGS NF Regular. For more details check their guide here .
Clone the repository
| |
Then, add powerlevel10k to ~/.zshrc
| |
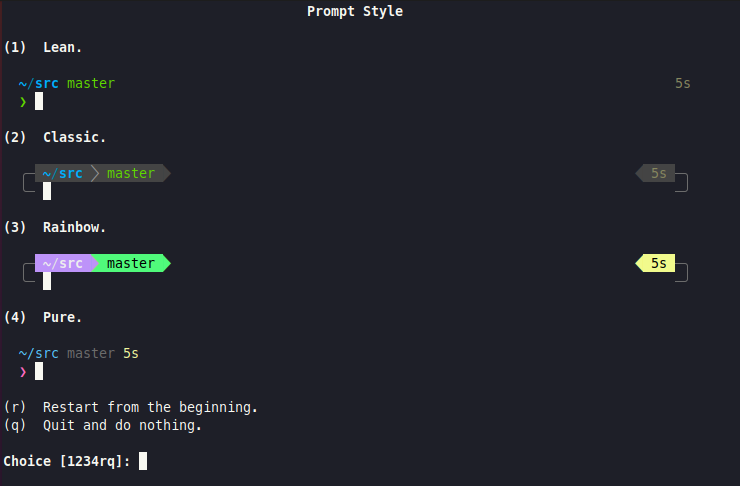
Restart Zsh with source ~/.zshrc and follow the configuration wizard.
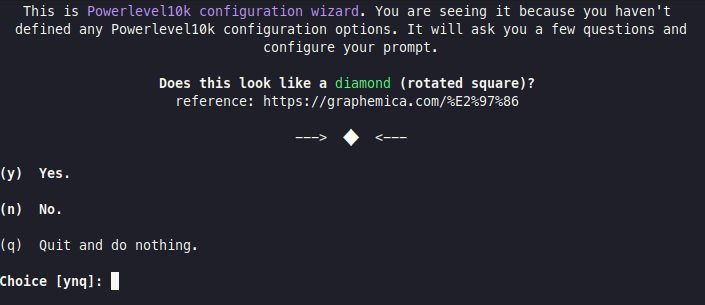
Choose your preferred style in the following screens.
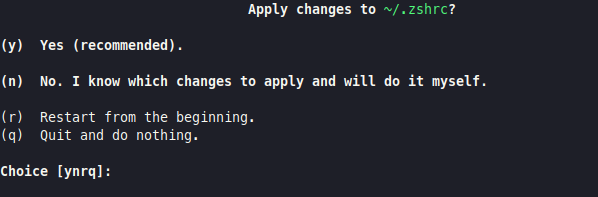
Apply the changes to your zshrc and you’re done.
You will end up with a result like the one below.
Tmux & Dracula Theme
In this last section, we will be installing Tmux with Dracula Theme .
| |
For other platforms, check this guide .
Then run it.
| |
You will notice that we have lost the colors we had before. Let’s bring them back with the next configs.
Install tpm to handle tmux plugins.
| |
Edit ~/.tmux.conf and put this at the bottom.
| |
Reload tmux environment
| |
Now, let’s install Dracula Theme as a tpm plugin. Add the following to your ~/.tmux.conf file.
| |
Press <prefix> + I (capital i) to install it. The default <prefix> is ctrl + b, so press ctrl + b + I.

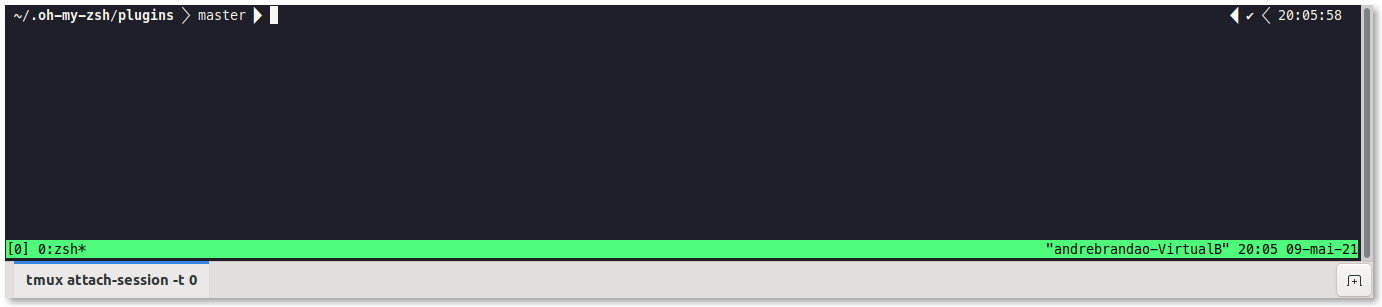
You can now quit tmux by typing exit and then create a new session with tmux new. You should now have Powerlevel10k running with Tmux and Dracula Theme.
As an extra, install the following plugins to save and restore your tmux sessions any time.
| |
And now you should be ready to go!
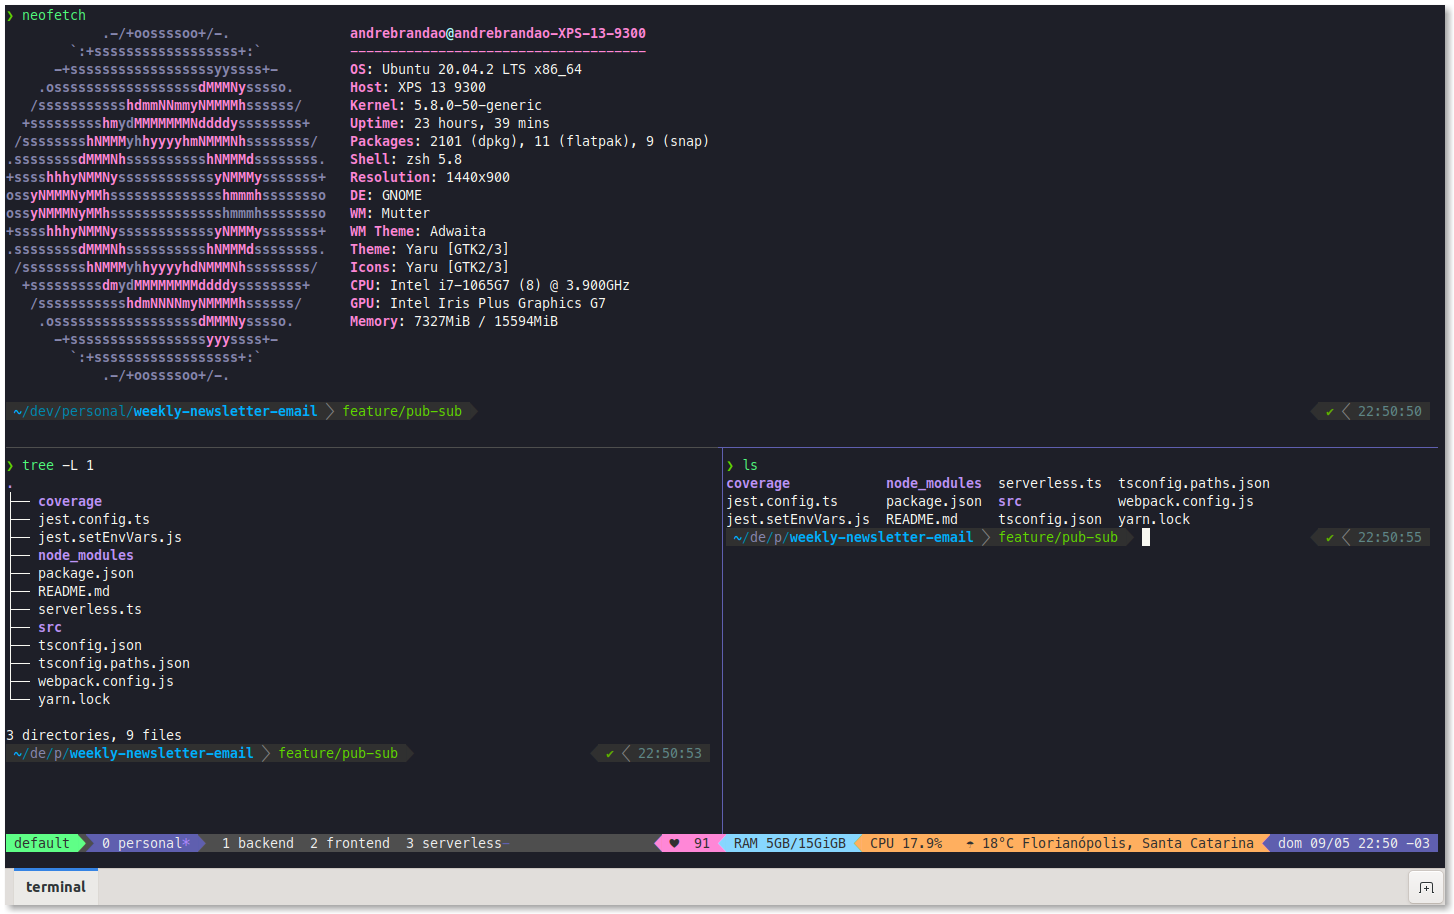
Quick commands:
Remember that the default <prefix> is ctrl+b.
- Split panes by pressing
<prefix> + %and<prefix> + ". - Kill panes by pressing
<prefix> + x. - Switch panes with
<prefix> + arrow. - Create new windows by pressing
<prefix> + c. - Switch windows by pressing
<prefix> + number. - Rename windows with
<prefix> + , - Zoom in and out a pane with
<prefix> + z - Detach with
<prefix> + dand reattach withtmux.
You can check out my configurations at:
Please, leave a comment telling me what you think about this setup and if you know other ways I can improve it. :)
Resources
- Guake: http://guake-project.org/
- Oh My Zsh: https://github.com/ohmyzsh/ohmyzsh
- Powerlevel10k: https://github.com/romkatv/powerlevel10k
- Tmux: https://github.com/tmux/tmux/wiki
- Dracula Theme: https://draculatheme.com/tmux